Wall panelling is sweeping the nation right now, with homes across the country jumping on the popular home improvement trend. It’s relatively cheap, easy to do and a great way to introduce character and decorative detail into your home. There’s a timeless style to wall panelling, so whether you’re looking to create a traditional feel or a more contemporary vibe, we’ve got you covered with our quick and easy guide!
Styles of wall panelling
There are a variety of wall panelling styles available to choose from to suit your taste. Make sure to do your research to decide which type of panelling is right for you!
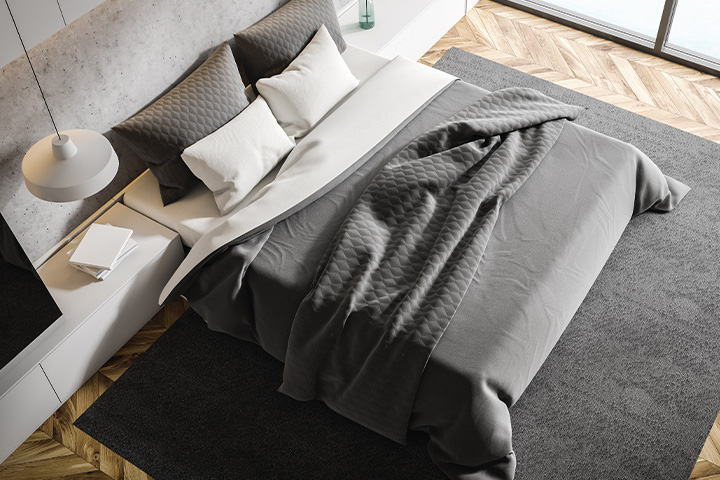
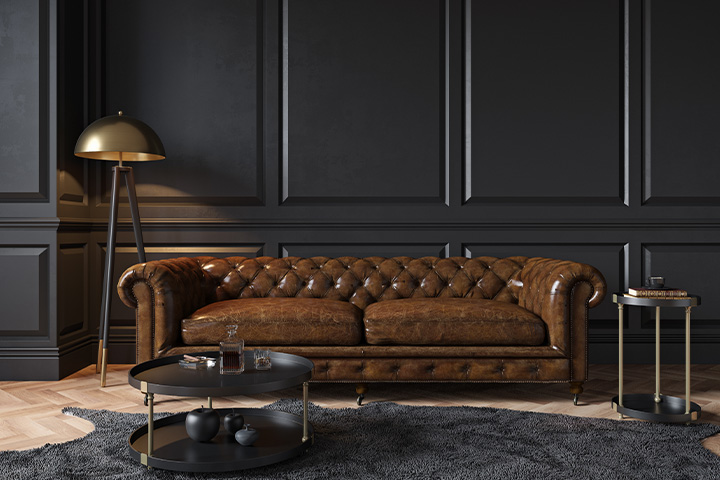
Dado-style wall panelling
Classy Dado-style wall panelling works well in bedrooms and living rooms. It consists of rectangular wooden frames fixed on the wall which aren’t overlapping and are often sparsely laid out.
Board and batten panelling
Board and batten panelling is made with vertically installed wide boards and narrow battens fastened over the gaps between the boards.
Geometric panelling
This style blends a modern geo style with a traditional panelled look. This style can be more challenging to install and measure – one for the DIY experts amongst us.
Flat plank wall cladding
Bring an industrial or shabby-chic style finish to your wall with rustic flat-plank wall cladding.
What you will need:
• MDF wood
• Instant Grab adhesive or small nails
• Measuring Tape
• Spirit Level (or use the ‘Measure’ App on iPhone for those that are technologically inclined)
• Pencil
• Sandpaper (120 grit)
• Simple set square and protractor
• Good quality caulk
• Caulking gun
• Filler
• Saw
• Paint
• Primer
1) Measuring
Once you’ve decided your style of wall panelling you will need to determine the thickness of the MDF and how many pieces of MDF wood you need. Start by measuring your space and consider the below.
• Work out the full width and height of the wall you are deciding to panel with your measuring tape.
• Decide how many panels you want and how much of the wall you want to panel. Only panelling halfway up the wall can elongate a room, for example.
• You should account for top and base panels (the frame) as well as vertical and horizontal panels. If you are panelling a bedroom or living room, consider where your bed or sofa will go and if they align nicely.
• Decide how tall and thick you want your panels to be. Long and thin panels can help to exaggerate the ceiling height whilst wider and thicker panels can make a room feel more cosy.
Make sure you boss your measurements, trust us, this is the important part! It’s a case of measuring and measuring again to achieve the perfect fit. Sometimes even measuring to scale on paper can help give a
great idea of the space.
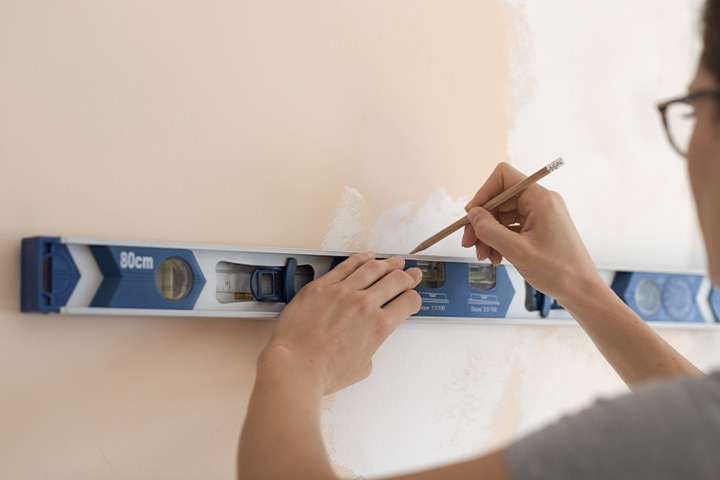
2) Mark it all on the wall
Once you’ve done all your measurements, you’ll need to mark a template out on the wall so everything is in its right place. By marking where your panels will go with the correct widths and spacing, you’ll get an idea of how it will look and have an accurate guide for sticking on your panels. Plus, this is a great way to triple check the MDF sizes.
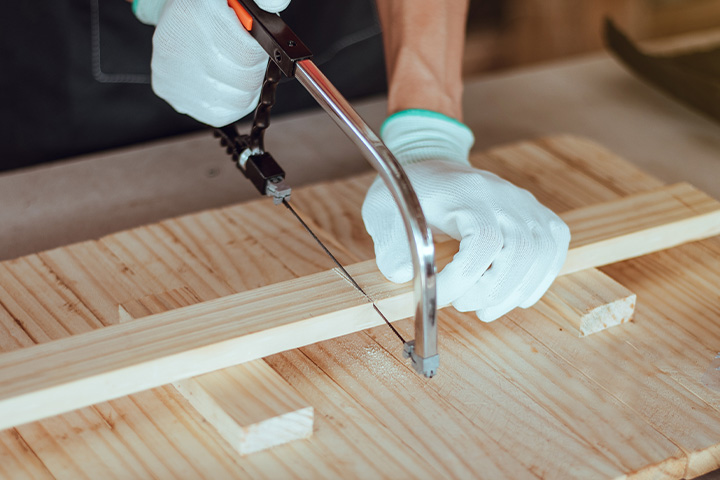
3) Cut your wood
Cut your wood to fit in with your measurements. Simple MDF wood will do the job.You might want to cut one panel to size first to make sure everything fits the way it should.
4) Stick it to the wall
When it comes to sticking your panels to the wall you’ll need to follow the right order. Base panels should go first, followed by the top panels. Follow up with the vertical panels and then the horizontal ones. To stick the panels down you’ll need your instant grab adhesive. Apply the adhesive generously to the back of the panels and stick it to your wall using the template you’ve marked out. You’ll need to hold the panel tightly in place for a few seconds to make sure it sticks. Use a spirit level to make sure everything is straight. The glue should hold it firmly in place but the panels should still be pliable, so you’ll be able to move the panel around to straighten it properly. If your walls are uneven you may want to use nails to secure the panels in place.
5) Caulk and fill
Once everything has dried properly, fill over any joins and then sand it down. If you notice any large gaps you can simply pad them out with filler. You should use filler instead of caulk in any area you need to sand as caulk doesn’t sand well. After that it’s time to apply some good quality caulk to all your edges with a caulking gun to neaten it off. Then all you need to do is smooth down the caulk and wipe away any excess.
6) Paint Your Wall
Now all you need to do is give your wall panels a lick of paint and bob’s your uncle! Just to be sure check everything has dried properly before you paint over. You might want to prime the wood first depending on the paint you are using then apply a couple of coats of paint to make sure you have a smooth finish. A rule of thumb is to keep the paint relatively thin and apply more coats, rather than spreading on one thick coat.
We hope this blog has given you some great pointers on how to get stuck into your next DIY project! Wall panelling is a simple and effective way to smarten up any room and at Plane & Simple we’ll sort you out with everything you need to get started.
Good luck with your wall panelling adventure, let us know how it turns out and make sure to share with us on our social channels here.