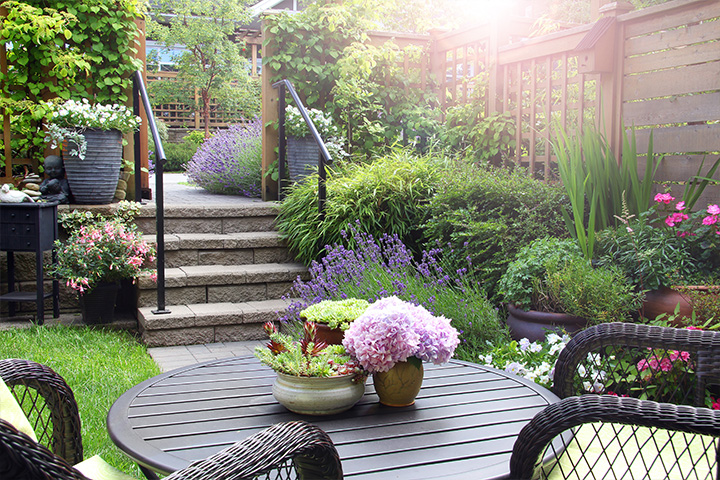
Calling all DIYers. Want your wood to look good? Of course, you do. Whether it’s indoor or outdoor furniture, a garden fence, bit of decking, or something else – varnishing is a must. Why varnish wood? Cos it preserves it, protects it from scratches and abrasions, plus waterproofs, transforms, restores, and generally brings it (back) to life. And we’re going to show you exactly how – the Plane & Simple way. That way, you simply can’t go wrong. It's only a wee bit of varnish on some wood though, we hear you say. How hard can that be? Well, yeah, that’s true; but if you want to be bang on first time, make no mistakes, and save time and cash – it pays to follow the steps of the P&S pros. So, let’s get started.
Forget Google – get the job done in our 5 easy steps.
We’ll run through the steps in more detail, but they are as follows:
- What to wear and where to work
- Preparation of wood
- Pick your preferred varnish
- First coat
- Finishing strokes
1. What to wear and where to work.
Sounds obvious but planning is key to any job done well. So we ain’t gonna beat around the bush. Just remember to:
- Wear the proper protective gear – like you would when working with any chemical.
- Make sure your working area is well-lit and well-ventilated.
- Also, make sure your working area is as clean as it can be – mop it down and get rid of any dust (especially as dust can stick to the varnish).
- Working outside? Do a weather check – you don’t want to work in rainy, windy or baking hot days.
2. Preparation of wood.
Whether you’re working with newly bought wood or restoring old wood, make sure that:
- Old paint or varnish is removed with either a paint stripper or by sanding.
- Paint/varnish stripping or thinning may simply require a paintbrush plus turps or water.
- A sanding block or handheld sander will remove old finishes and fine-grit sandpaper will prepare the wooden surface for varnishing.
- If you need to fill in any gaps or holes (usually when restoring old surfaces) – grab some grain filler, apply and dry.
- Finally, clean the wood with a hardy damp cloth or mop.
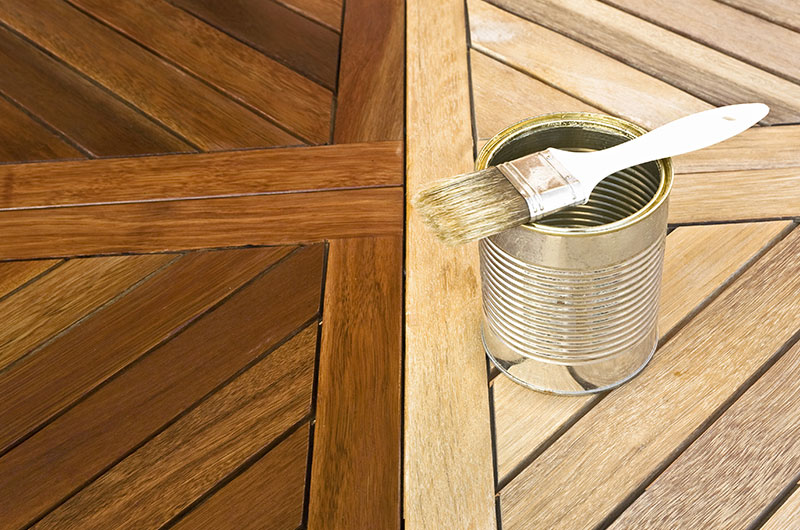
3. Pick your preferred varnish.
Depending on your DIY project, you’ll want the right varnish. Worry not, we’ve got the lot (Just remember you’ll also need to consider whether to use a clear or tinted varnish):
- Water or acrylic-based varnishes can be mixed with water and your brushes can be cleaned in soapy water. Remember, these varnishes aren’t as durable as oil-based ones.
- Oil-based varnishes are the most durable of the lot. However, they need to be mixed with a paint thinner such as turps. Your brushes will also need to be cleaned with a paint thinner.
- Spray-on varnishes – super easy to use and you don’t need a brush.
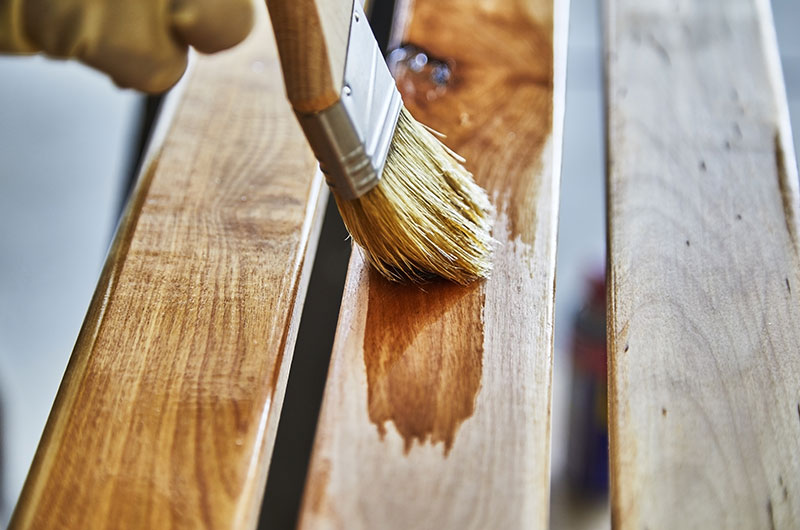
4. First coat.
Now you’re all set to apply the wood varnish – but you need to thin the first coat:
- Thin your water or acrylic-based varnish with water – normally one part varnish to one-part water.
- It’s the same ratio for oil-based varnishes, but using turps or a similar paint thinner.
- Spray-based? No prep is required. Simply spray and you’re away.
- Your first coat should be lightly applied and allow to dry for 24ish hours. Simples.
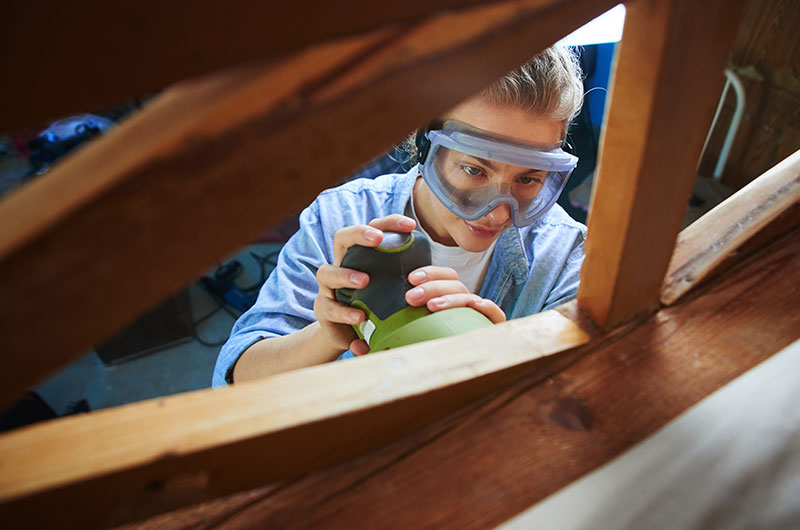
5. Final strokes.
Almost done and dusted. Phew. Here goes:
- Apply the second coat of varnish and allow to dry.
- Sand this coat after 24ish hours using fine-grained (not course-grained) sandpaper.
- Apply and sand another coat – the more coats, the more durable the final product. Be patient and you’ll be rewarded!
- Wipe down and you’re done.
DIY wood varnishing should be simple, fun and fulfilling when you choose the Plane and Simple way.
Why not share your results on any of our social media channels? Just tag us @planeandsimplediy or use the hashtag #PlaneandSimpleDIY