Shelves help make a house a home. As well as being a handy storage solution and helping to make your space less cluttered and more organised, they're the perfect way of showing off your favourite ornaments, family photos, and that copy of War & Peace that you'll get round to reading, any day now.
And the great news is that you don't need to be a diehard DIYer to fit them, and you don't have to buy the same set of flat pack shelves that everyone else has. We say balls to that. You can build and customise your shelves to suit your taste and space.
So here’s our top tips on how to install your own DIY shelves.
Define your shelf style
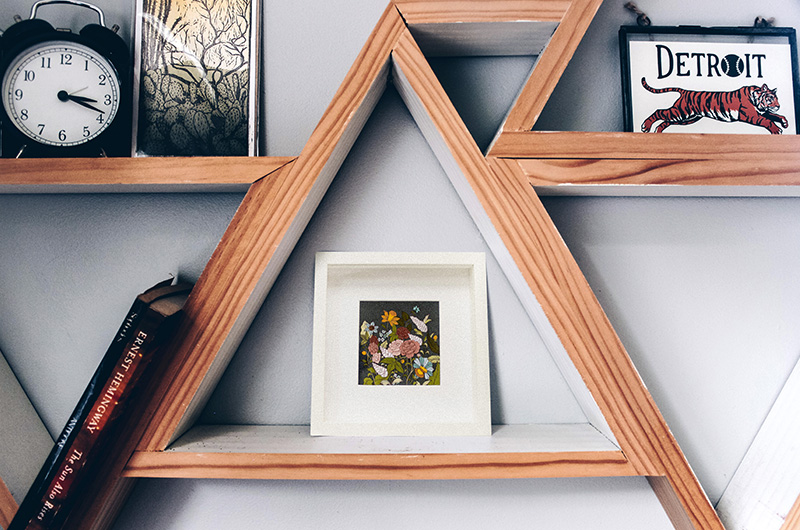
First of all, have a think about what look you're going for - rustic, industrial, modern, simple? Or, if you're feeling a bit more ambitious, triangular?
Then you need to choose your wood. Our merchant partners have a huge range of wood types, treated and untreated, that you can then cut to the size you need.
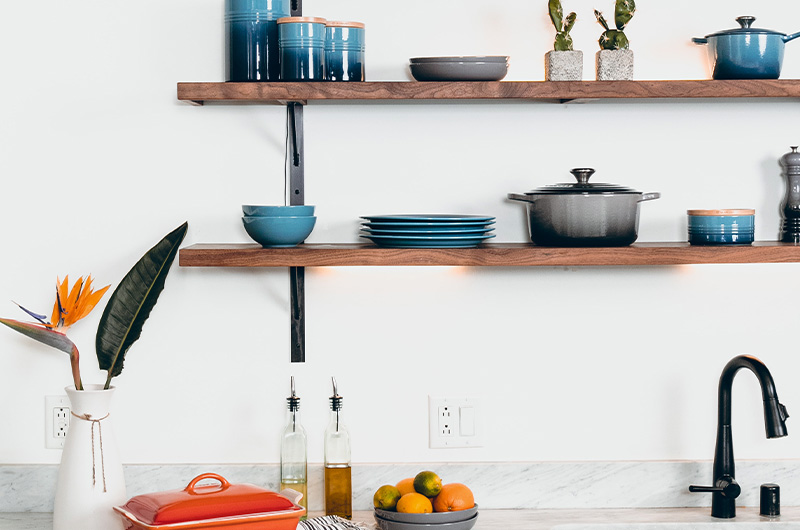
Then you need to decide on the style of shelf you want. Fixed bracket shelves have the classic upside-down L-shaped brackets to fix them to a wall. Or maybe you'd prefer floating shelves where the fixing equipment is hidden - i.e. they look like they're floating in the air.
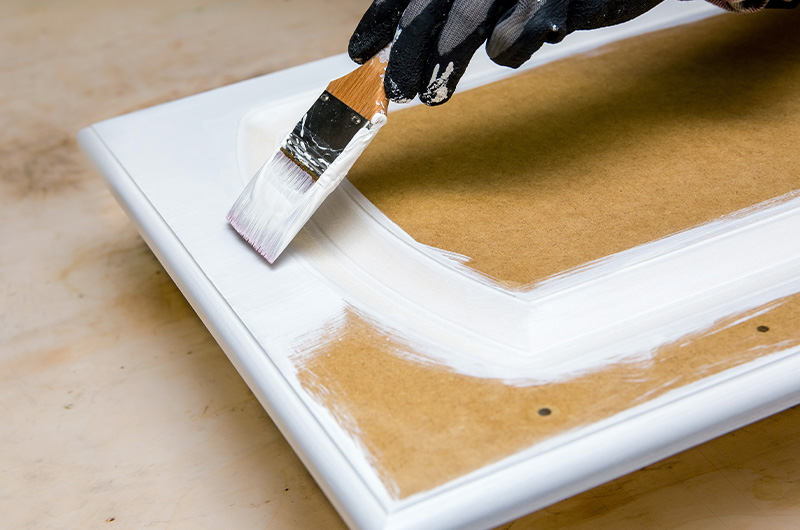
Priming and painting shelves
If you want to bring out the best in your wood of choice, a good primer before you use paint increases the durability of your paint job and helps protect the wood that's being painted (remember to sand off any existing varnish beforehand!).
When it comes to painting your shelves (always easier before you fix and fit them) you can preserve the natural wood, with a polyurethane paint to protect the wood and add sheen. Or you may want to apply coloured stain, acrylic paint or enamel-based paint to make your shelves match the colour scheme of your room.
Check your wall
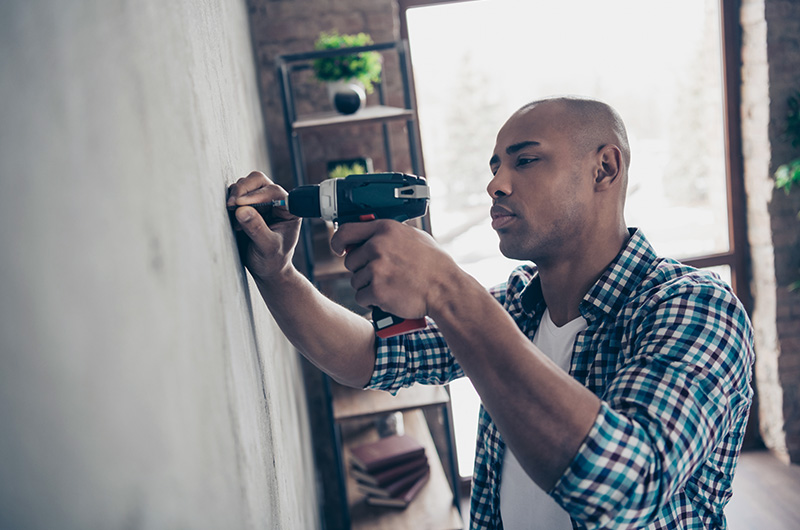
First up. check the construction of the wall and then you'll know what type of fixings you are going to need.
If you've got a solid brick or masonry wall, you'll need wall plugs for 6 – 10mm screws.
For plasterboard wall, they can be anything from 9mm to 13mm, so you’ll need screws of about 30mm in length.
- Before drilling, hammering or putting a screw into a wall, be sure you’ve checked what’s behind it. Avoid drilling near light sockets or outlets, take extra care in bathrooms and kitchens, and if you're in doubt and worried about wires or gas or water pipes, use a digital detector, or contact a professional to be sure.
- Use a stud detector (nothing to do with Tinder) to find upright wooden support in the wall to which the plasterboard is attached then draw two vertical guides along the lines of the studs.
- Mark holes for the first bracket at the height you want your shelf. Use the spirit level to make sure it's straight, and then mark through the holes with a pencil.
- Drill into the wall as far as the length of a screw, minus the depth of your bracket.
- Mark holes for the second bracket using your spirit level to make sure your shelf will be straight.
- Drill holes and fix the second bracket into the stud.
- Put your shelf in place and fix with screws, if needed, or it may just balance on top.
We'd love to see how yours look, and what you put on them, so please share your shelfie pics on our social media spots. Just tag us @planeandsimplediy or use the hashtag #PlaneandSimpleDIY