If you're planning some home renovation, at some point you'll no doubt come face to face with plasterboard. Either removing it or attaching it to your wall. It's one of the most widely used products in construction, because it's easy to use, safe and affordable.
Yes, removing it can be quite messy and a bit time consuming, but not that difficult a task, and easily achievable by any non-DIY gurus.
But before you start swinging that hammer, and tearing the place apart, we've got some helpful hints to save you time, tears and money.
Before you begin
Remember to check what's beyond the wall. Like wiring or plumbing. So shut off the power, water, gas, and other utilities to the area you are working on if you have any suspicions. A stud-finder will show up pipe and electrical settings.
Remove the moulding
Normally there will be a baseboard and ceiling moulding which you'll need to take off with a crowbar or hammer before you can access the drywall and begin removing it. Just work along the edges of the plasterboard to loosen any screws.
Remove the plasterboard from the wall
Start near the top and work down, prying the drywall free of its fasteners as you go. Just grip it and rip it, and it should come off in manageable chunks.
Now, to do the opposite and create your new plasterboard wall…
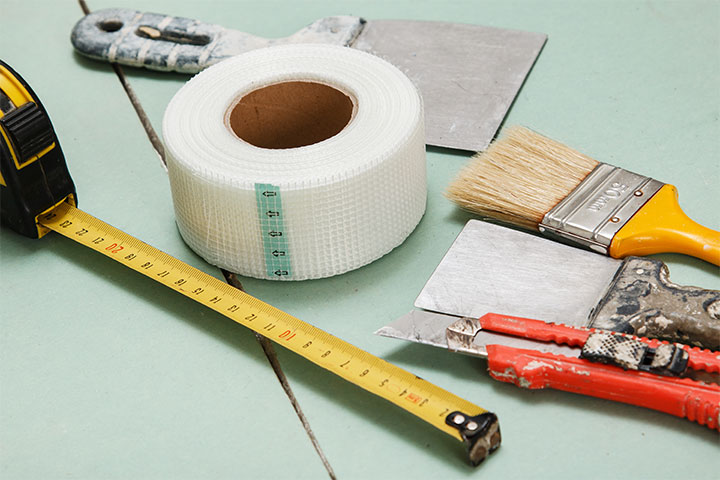
Here's what you'll need:
- Tape measure
- Drill
- Drywall screws
- Gloves, mask and safety goggles
- Hammer
- Plasterboard
- Small Stanley knife for cutting dry wall to size
- Plasterboard saw for removing old plasterboard
- Metal corners and metal cutters to cut the corners
It's a popular choice on stud walls, because installation is fast and relatively straightforward. There's loads of videos worth watching online, but here are some useful tips.
- Consider the plasterboard thickness and check you have enough. It's always a good idea to order slightly more than you need, in case you make any mistakes or damage your boards.
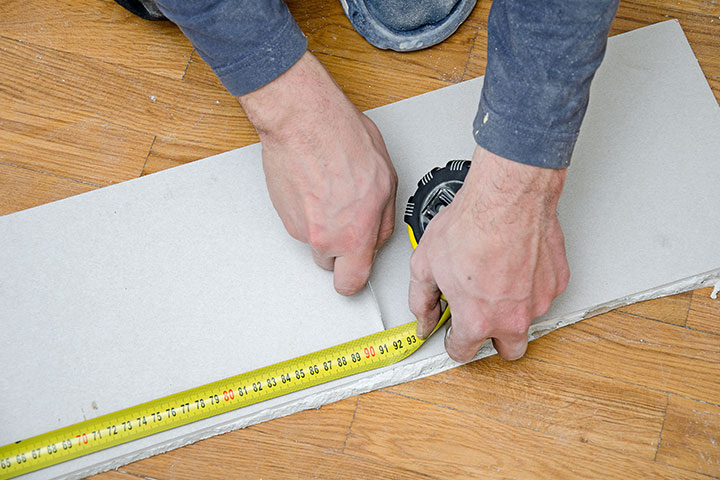
- Cutting plasterboard is really easy, all you need is a tape measure and a good utility knife. Using your tape measure as a guide, score the paper side of the section you need and gently bend the plasterboard to break off the part you don’t want. This will prevent the Stanley knife from going blunt.
- For any bits left over, use as a block to rest the board on so it isn’t directly on the floor and doesn't crack or get damaged.
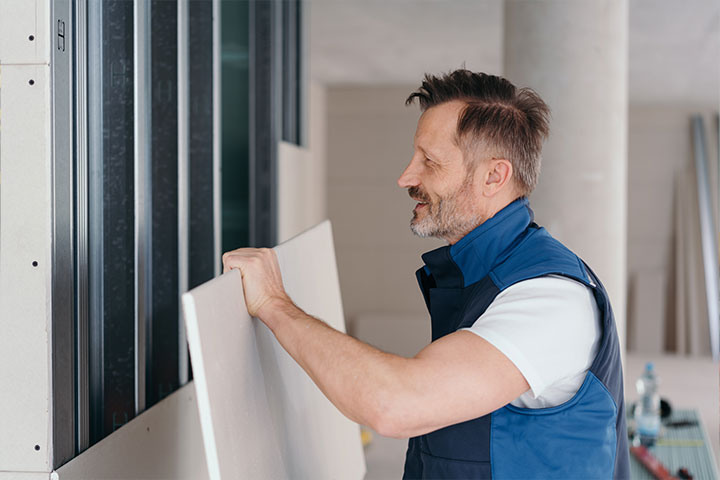
- Hang your plasterboard horizontally rather than vertically. Because of the way the boards are manufactured, they have a ‘grain’ along their length, which means that they are stronger when attached this way. And it means less bumps in the future too as they age.
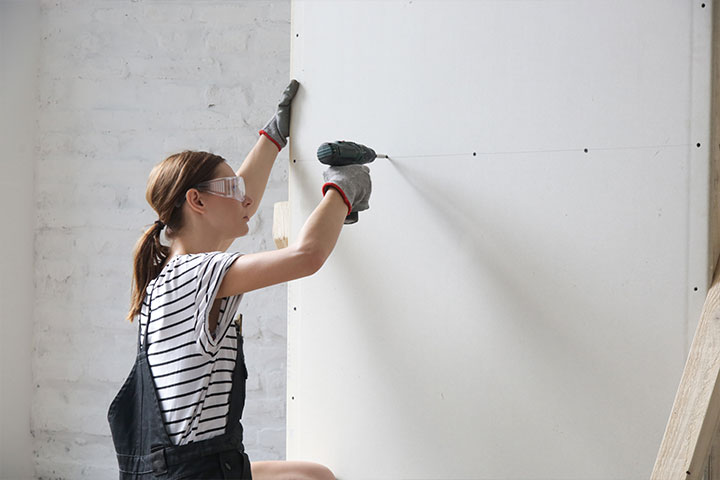
- Fixing plasterboard - Once you’re ready to fit your plasterboard to the studwork, drive a few screws into the far corners of the board to secure it in place while you mark the centre positions of the studs on the plasterboard.
- Position your drywall screws at 10-20cm intervals, along the lines of the studs. Be careful not to drill them in too deep as you can risk crushing the plaster.
Now you have a plasterboard stud wall with a smooth finish ready to be decorated straight away. And right now we have free delivery on orders over £60 so you don’t even need to leave your house. So that bits just as smooth.